I’ve had a couple of questions recently about my upcoming Photoshop Layers and Masks Workshop so I thought I’d try to answer them for everyone today. The quesions were what are layers and masks? And why do I use them? Quite simply, layers and masks are the tools that let me take advantage of Photoshop’s photo editing power.
Layers
A layer is just a set of instructions for Photoshop to make a change to your photograph such as adjusting color, contrast or brightness. As you add additional layers of instructions, you are making additional changes to your photograph.
The power in using layers is that you can always go back and change the settings for a specific layer at any time and not lose other edits you’ve made to your photograph. You can also turn your layers on and off for a before/after comparision. You can also rearrange your layers since Photoshop reads the instructions from the bottom of your layer stack to the top.
If you just make adjustments to your photograph without using layers, you can’t go back and change an adjustment without losing all the edits you’ve made since that step.
Layers allow you to edit non-destructively. I almost always have to go back and tweat some of my changes when I’m editing a photo. Using layers allows me to make whatever changes I want to make at any stage of my editing process without losing all of my other edits.
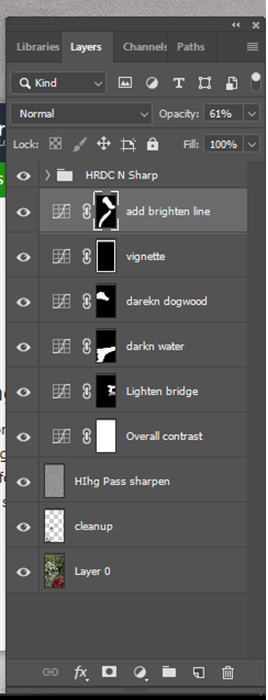
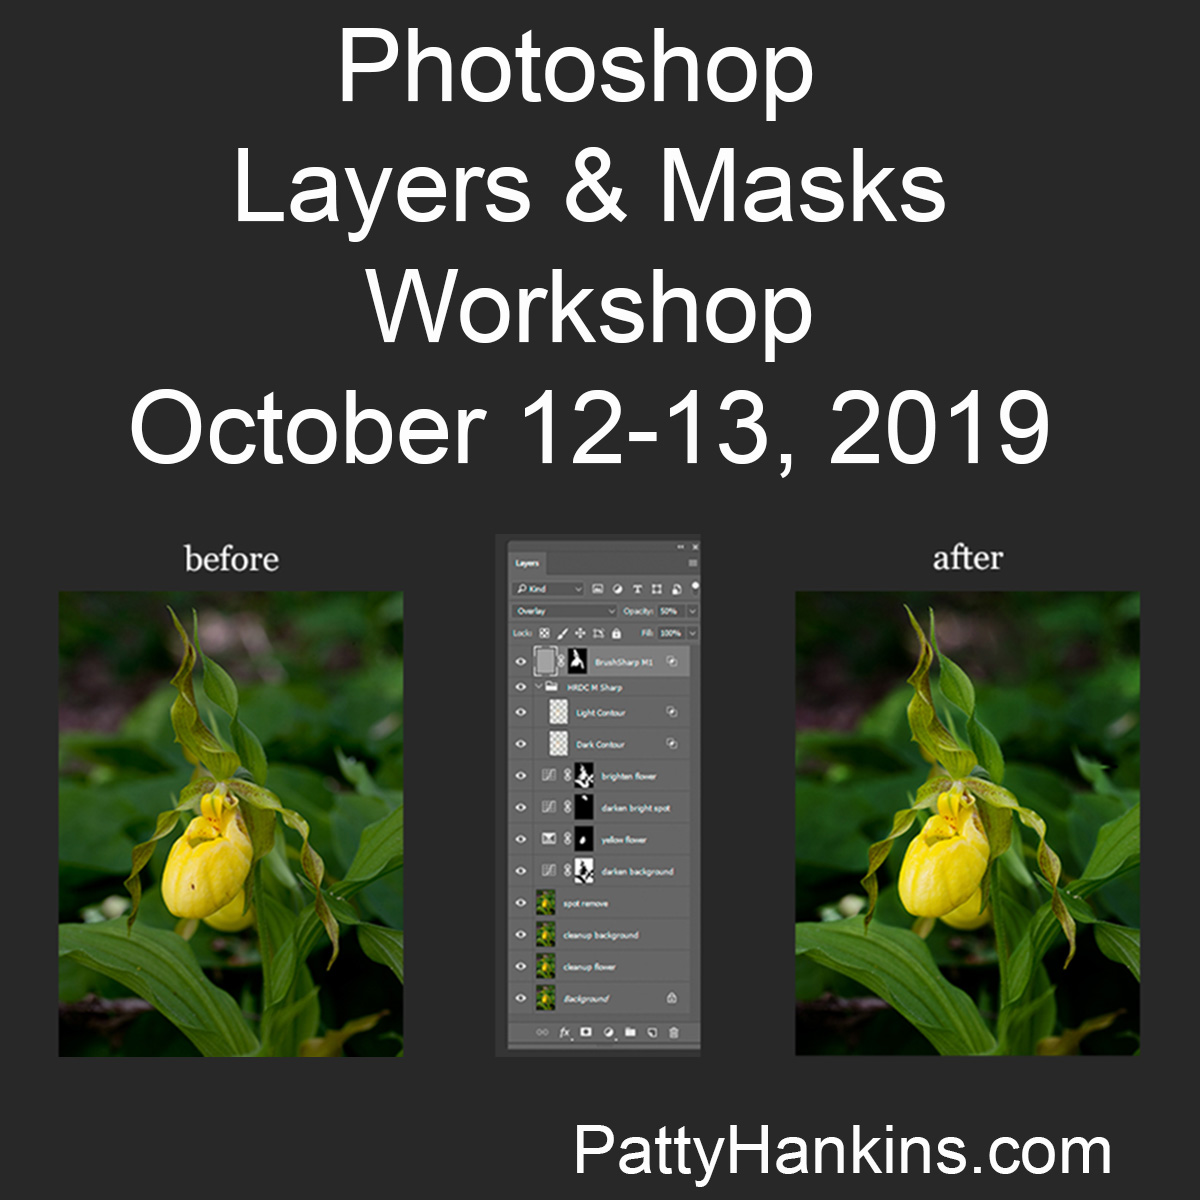
As you can see from this screenshot of the layers panel from a recent photo, I rename my layers so I know what they do in case I do need to go back and make changes at a later date.
Masks
Masks allow you to target your edits to specific sections of your image.
If you look at the photo of my layers, you can see small black and white squares on several of the layers. These are the masks. Where the mask is white, your change will take effect in your photo. Where the mask is black, the change doesn’t affect your photo.
An easy way to remember this is “Black conceals, White reveals.”
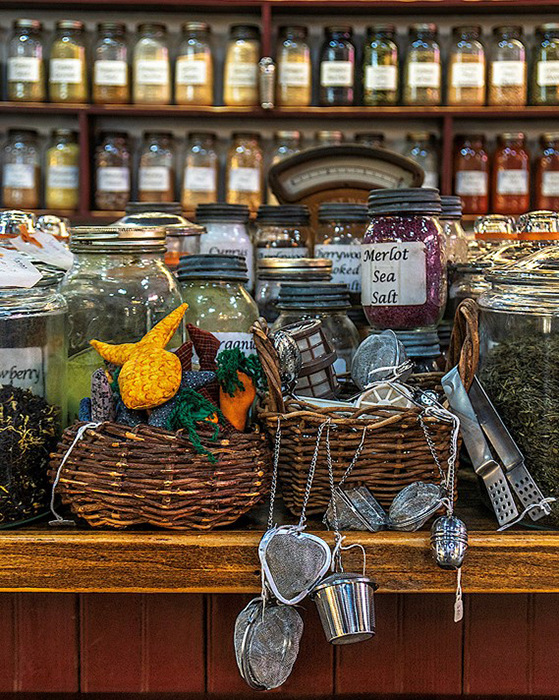
Here’s a photo from the Herb Shop at the Central Market in Lancaster, Pennsylvania after my initial edits. The background shelves were too bright so distracted from the foreground when seemed too dark.
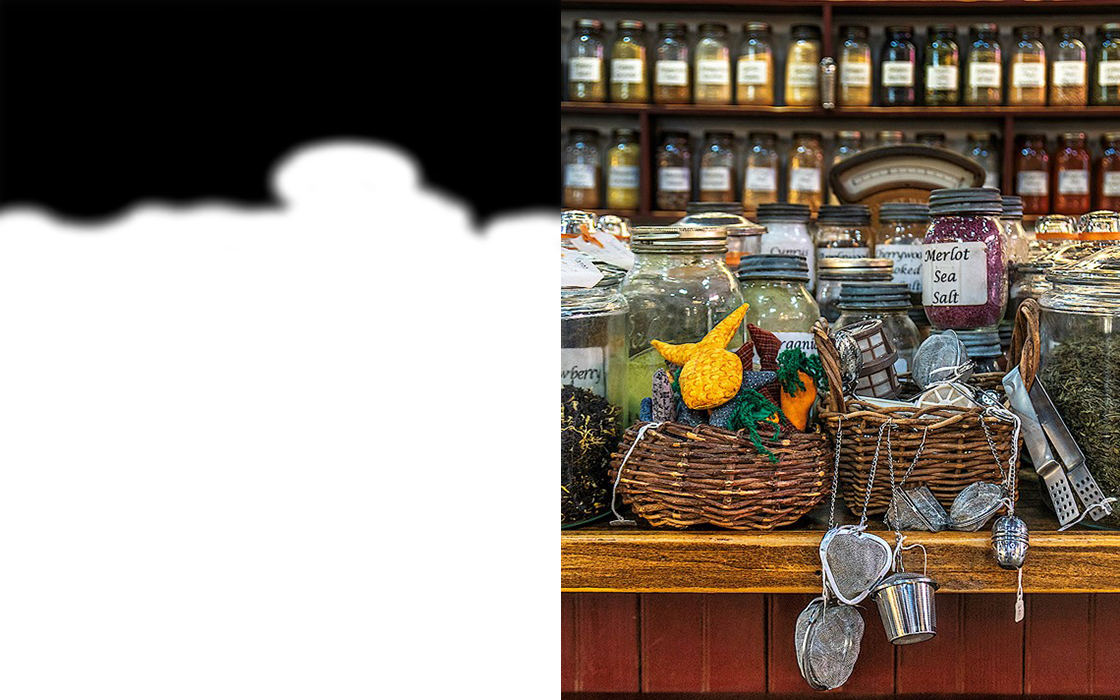
So I used a curves layer to darken the entire photograph by the amount I wanted to darken the background. I then applied a mask where the white area covers the shelves in the background that were too bright so they would be darkened. The rest of the photo isn’t darkened since it was protected by the black area of the mask. 
Then I used another curves layer to lighten the entire photograph by the amount I wanted to brighten the foreground. I then applied a mask where the white area covers the foreground of the photo that was too dark so this area would be lightened. The shelves in the background aren’t brightened in this new layer since the area was protected by the black area of the mask.
As you can see, using layers and masks in Photoshop allow you to make non-destructive edits to your photo, and control exactly what areas of your photo you want to be affect by a specific set of changes.
If you’d like to learn more about the power of Photoshop’s layers and masks, join me on October 12-13 for my Photoshop Layers and Masks Workshop. More information about the workshop is available at https://beautifulflowerpictures.com/store/photoshop-layers-masks-workshop-october-2019/