Well – that’s an impressive sounding title! What it really means is I’m going to share the step by step edits I made on my In the Shofuso Japanese Garden photograph.
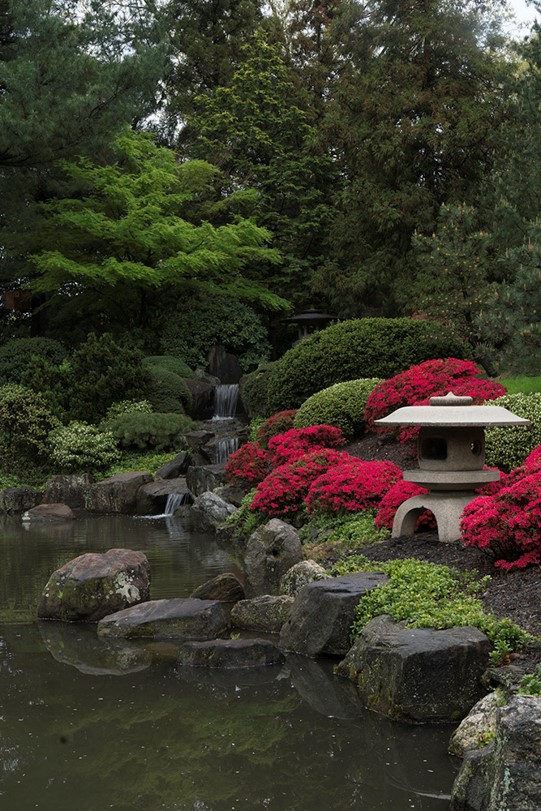
On a visit to Shofuso Japanese Garden in Philadelphia I was captivated by the scene in front of me. I saw a line of water and the waterfall leading my eye to the temple in the trees. I saw azaleas and another small temple on the right framed by the water on the left. And finally, I saw the wonderful bright greens of spring.
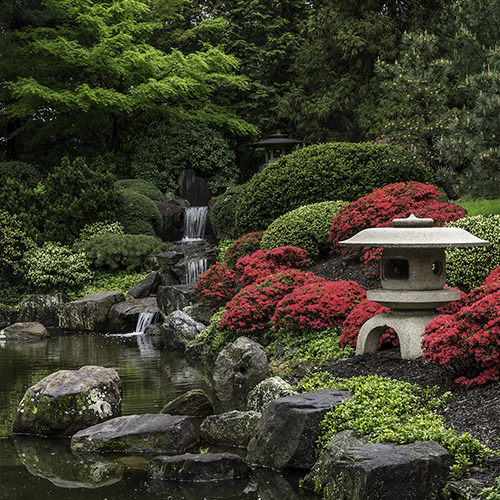
Here’s what my camera captured.
The first edits I made were done in Lightroom – where I cropped the photo to a square format and did some global adjustments (changes that affect the entire photograph) to brighten up the photo and increase the contrast just a bit.
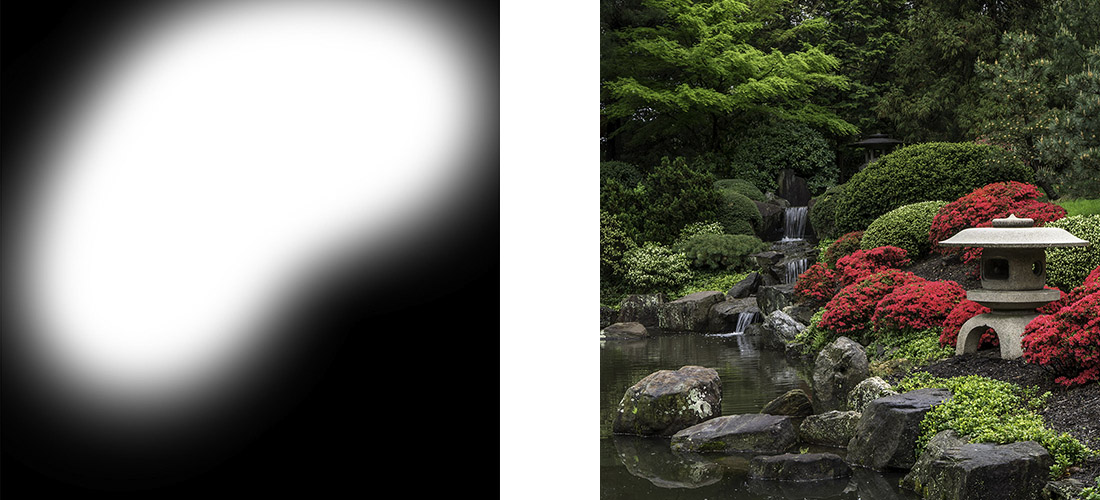
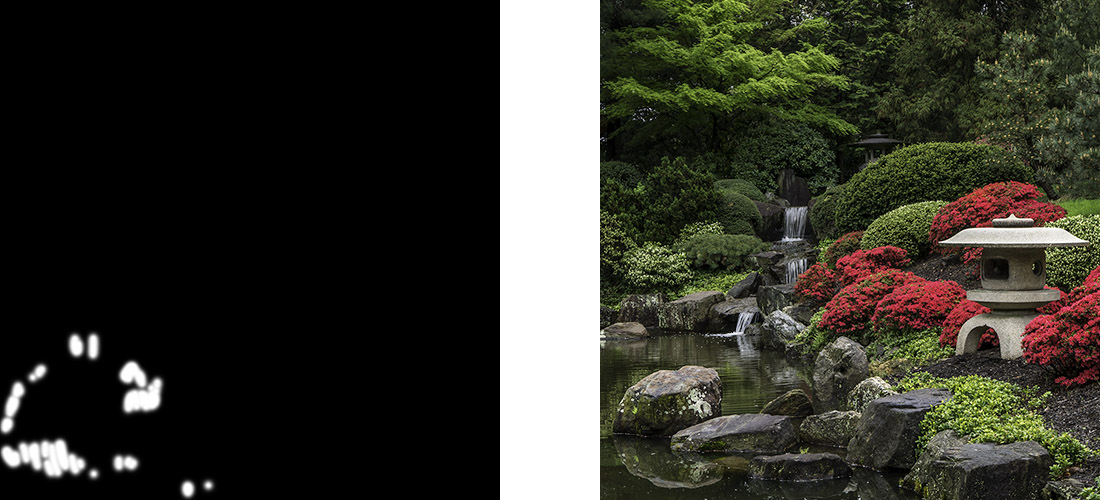
And then I headed into Photoshop to make a series of local adjustments (changes that affect just part of the photograph) tto draw your eye through the photograph so you saw what I saw that day in the garden. I used a series of layers and masks to make the local adjustments. I’m including screenshots of the masks so you can see just what part of the image I’m working on. In Photoshop, a mask allows you to choose where in your photo you want a change to apply. In white areas of the mask – the change is seen. In black areas of the mask – the change doesn’t affect the photograph.
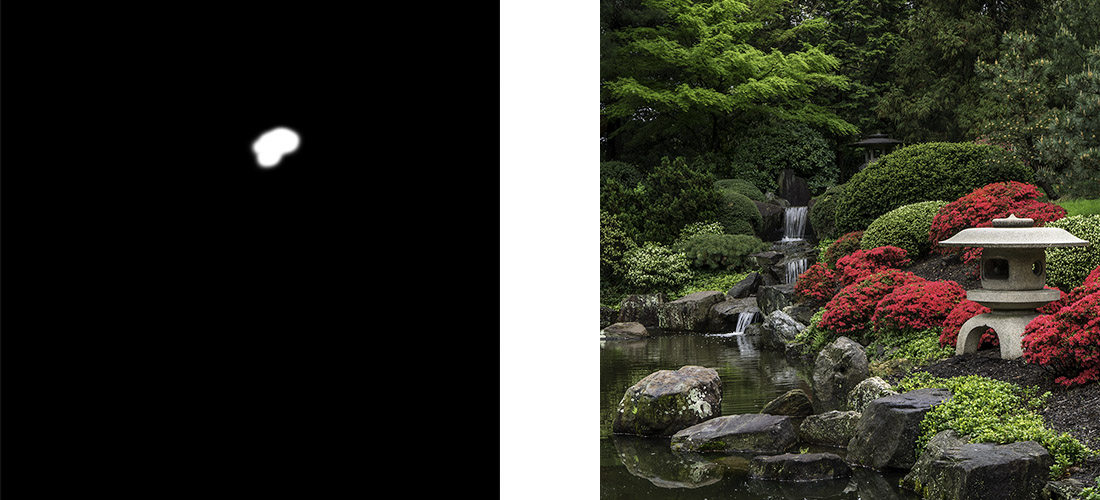
My first change was to use a curves layer to brighten up the background. The background just too dark before I brightened it up
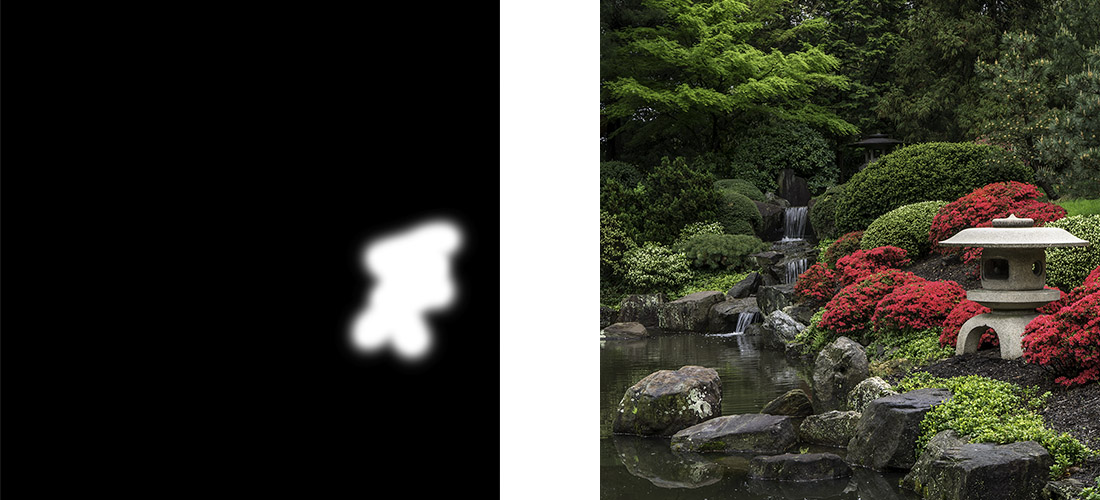
Next I used a curves layer to brighten the front temple. As I looked at the photo, the front temple felt like a dark heavy object in the photo and I wanted to lighten it up a bit.
Followed by another curves layer to darken the top of the front temple. Once I made the changes to temple in the previous step, the top of the temple was too bright and drew my eye away from the water, so I darkened it down a bit.
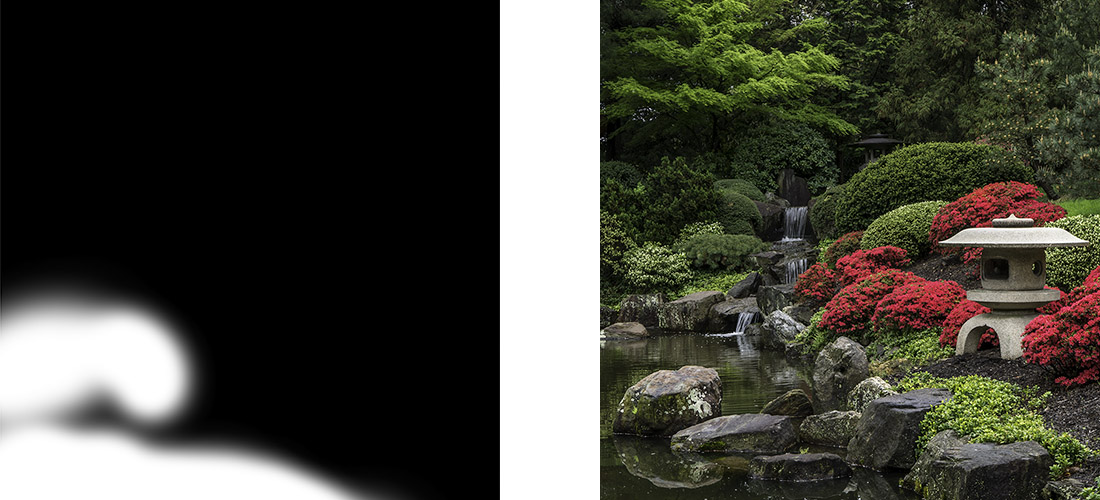
The next curves layer increased the contrast in the water. One of the things that really attracted me to the scene was reflection of the trees in the water, highlighting the beautiful greens of spring. By increasing the contrast in the water, I could bring out the reflection.
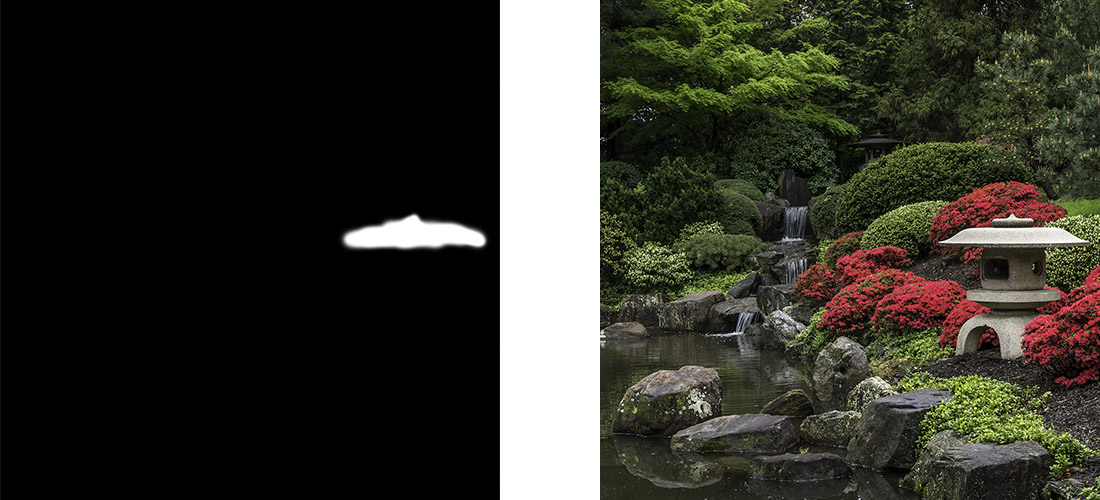
An then a curves layer to brighten the waterfall. As I took the photograph, I saw a line of water leading from the front of the scene, back through the reflections, up the waterfall to the back temple. By brightening up the waterfall, I can help you see the same line.
And another curves layer to brighten up the back temple. The leading line I saw ended at the temple in the back. In the photo, after I had brightened up the water, the temple was getting lost in a dark spot.
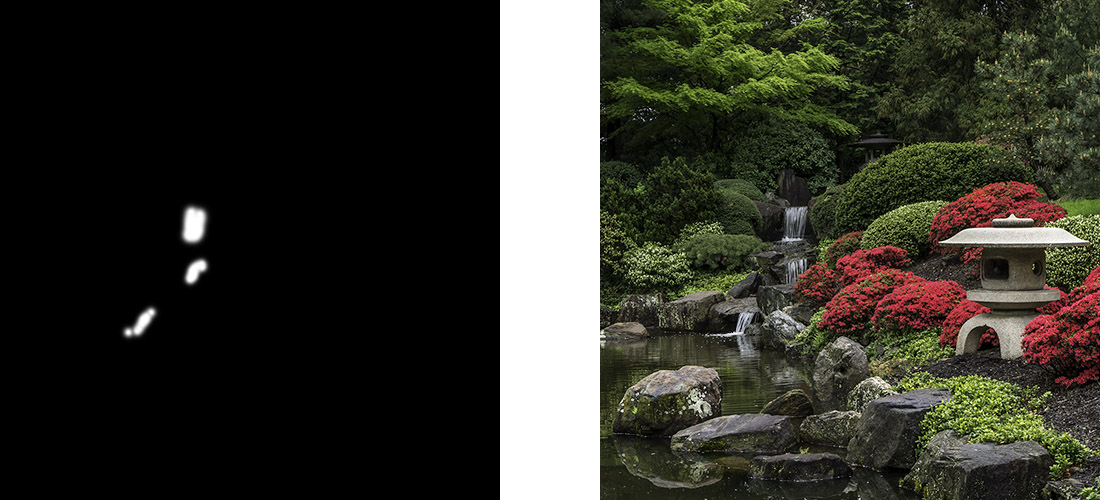
And yet another curves layer to brighten the reflections in the water. I love seeing that wonderful shade of yellow green in the spring, and I saw it reflected in the water at the garden. By brightening up parts of the reflection, I could share that same shade of yellow green with you.
Followed by a hue/saturation layer to tone down the reds in the azaleas. With all the adjustments I’d made, they were just a little too bright. I didn’t need to use a mask on this step since the only reds in the photo are the azaleas so my change to the reds didn’t affect the rest of the photo. If there had been other reds in the photo that I didn’t want to tone down, I would have made a mask and just had the change affect the azaleas
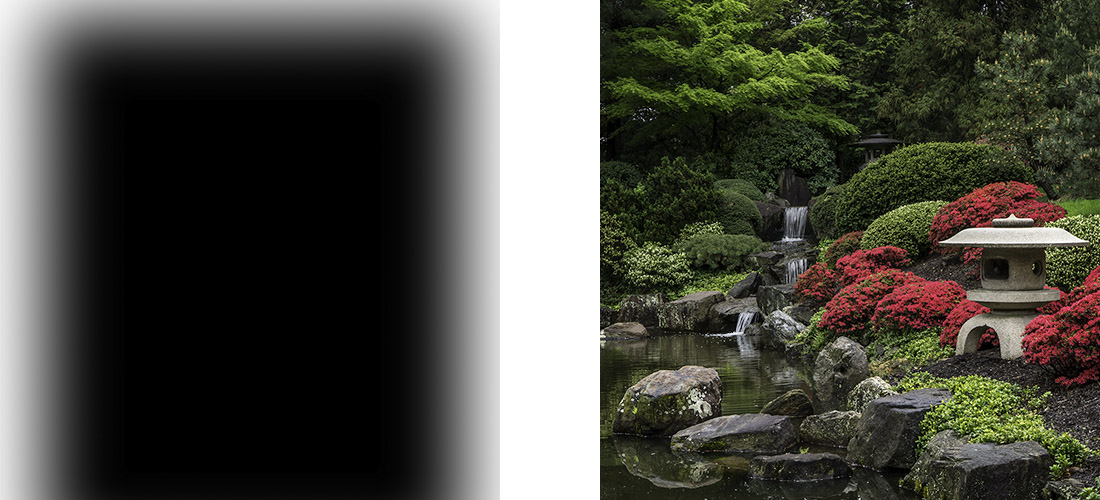
And finally a last curves layer to add a vignette to the photograph. I wanted to darken down the edges and corners to draw your eye into the center of the photograph.
My last step was just to do a little sharpening on the photo. Since I photographing in RAW mode, no sharpening is applied when I capture my image, so I need to add a bit in at the end.
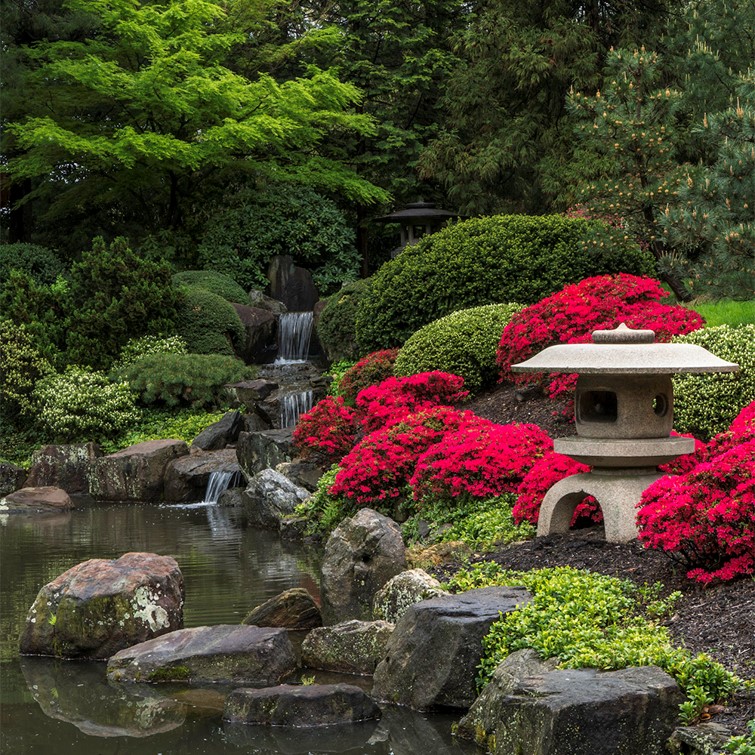
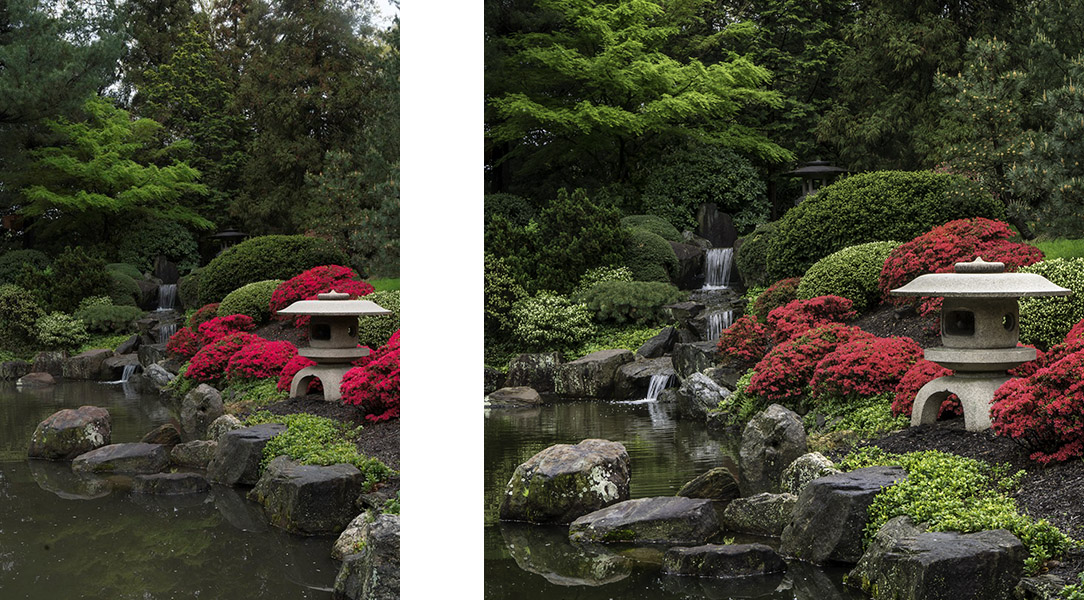
As you look at my initial capture and my final image, you can see how I used a series of small local adjustments to draw your eye into the photograph and follow the leading line from the bright reflection in the water, up the waterfall to the temple in the back. And also you can see a balance in the photo between the red azaleas and temple on the right side of the photo and the water and waterfall on the left.
My hope is that my final image allows you to see the same beautiful scene that I saw at the gardens that day.
How I edited this photograph is one of the examples I share in a talk “The Power of Local Adjustments” that I have available for presentation to camera clubs and photography groups. If you belong to a camera club or other group that might be interested in having me speak about photography and photo editing, please drop me a note. I’d love to come speak to your group.
And if you love my photograph of the Shofuso Japanese Garden, it is available on my website at https://beautifulflowerpictures.com/store/shofuso-1/