A few months ago, I shared how I edited some of my photos using both Lightroom and Photoshop. A few people asked me if I could share how I would edit a photo just using Lightroom since they aren’t comfortable using Photoshop. So I thought I’d share how I edited a photograph I took of a Plum Sunflower in my studio only using the tools in Lightroom’s Develop Module.
When I took the photo, I wanted the sunflower to really stand out from the background and have the feel of a warm sunny day. The photo was taken using my Sony A7III camera with my Canon 100mm macro lens and just the modeling lights from my strobes as a continuous light source. My ISO set at 100, aperture at 11 and a shutter speed of 2.5 seconds.
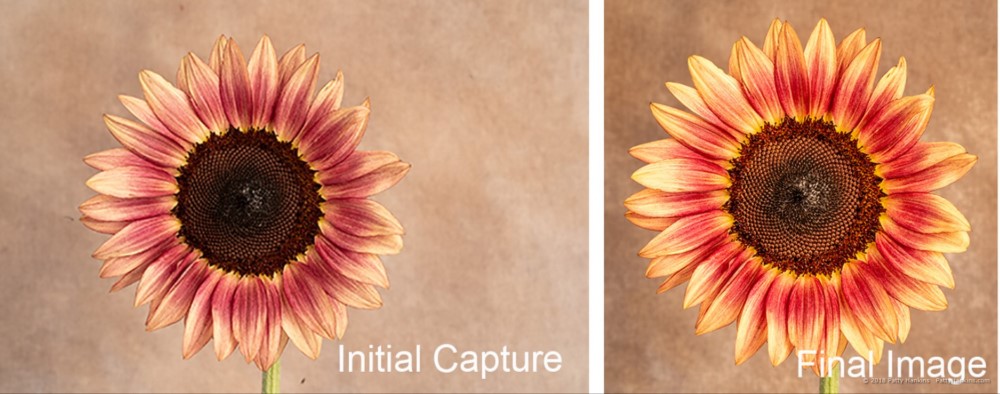
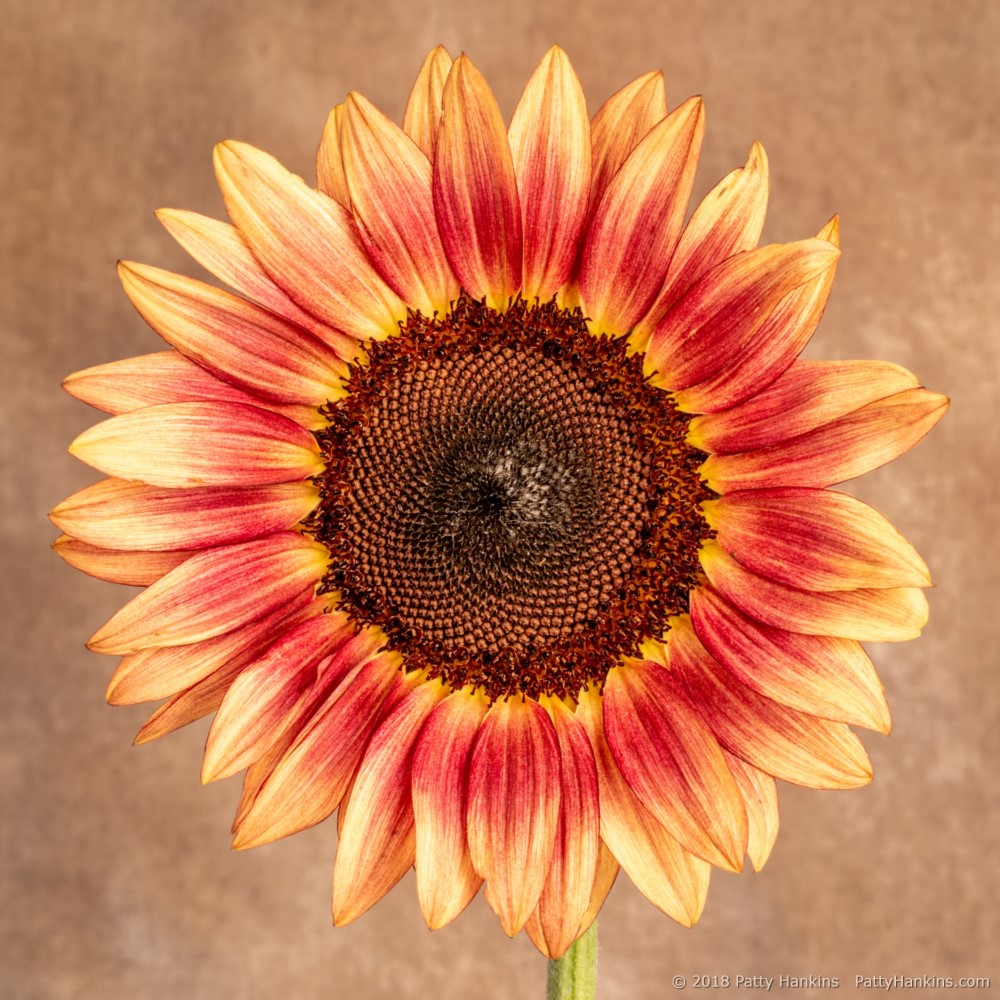
Here’s my initial capture
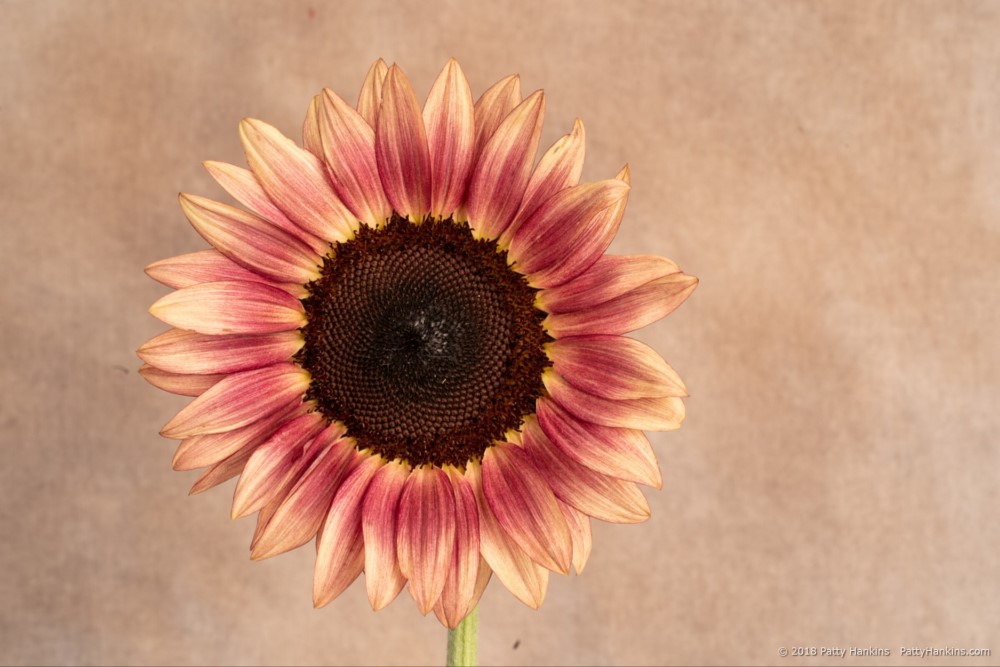
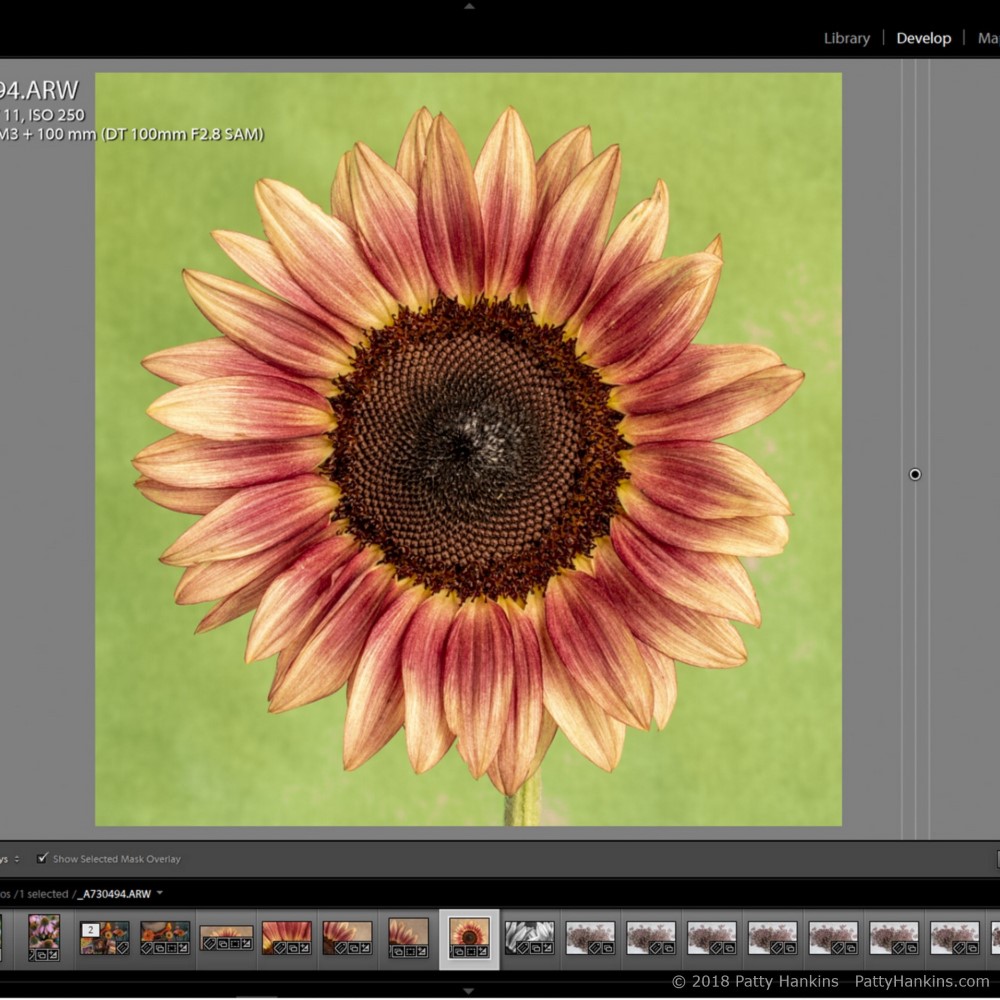
I knew I wanted my final image to be a square photograph. So here’s the photo after cropping and cleaning up a few spots of grunge.
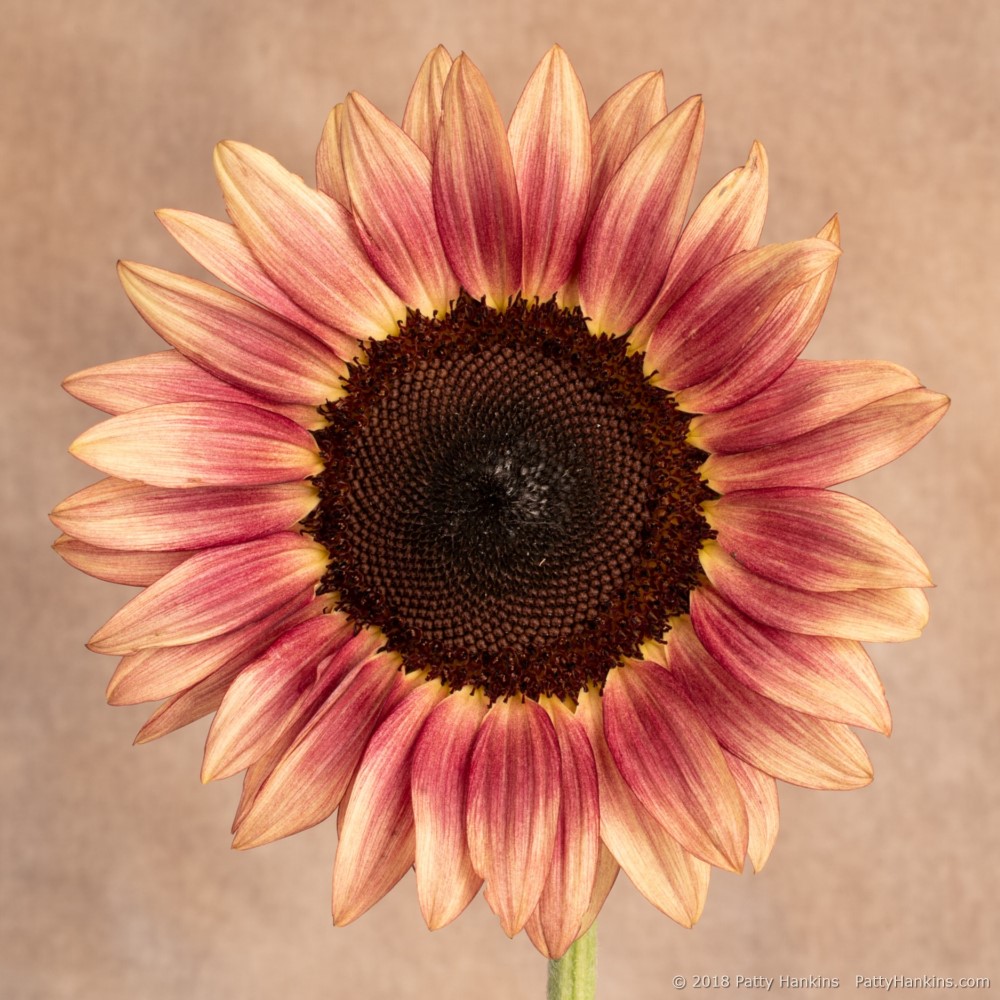
Then I made my adjustments using the Basic Panel in the Develop Module. My adjusted settings were Highlights -100, Shadows +86, Whites +38, Blacks -48 and Clarity +14. I was adjusting the overall contrast of the scene and adding a little mid-tone contrast with the Clarity slider. I tend to use the Highlights/Shadows/Whites/Darks rather than either Exposure or Contrast since I have more control with the set of 4 sliders. Here’s my photo after my changes in the basic panel.
The next change I wanted to make was to darken the background. I applied a graduated filter to the entire image. I then used the Range Mask: Color to refine the mask so it just applied to the background. First I used the eyedropper to sample several areas of the background. I then adjusted the Range Mask amount to 0. Finally I used the brush to clean up a few areas of the mask. Here’s what my mask for the background looked like.
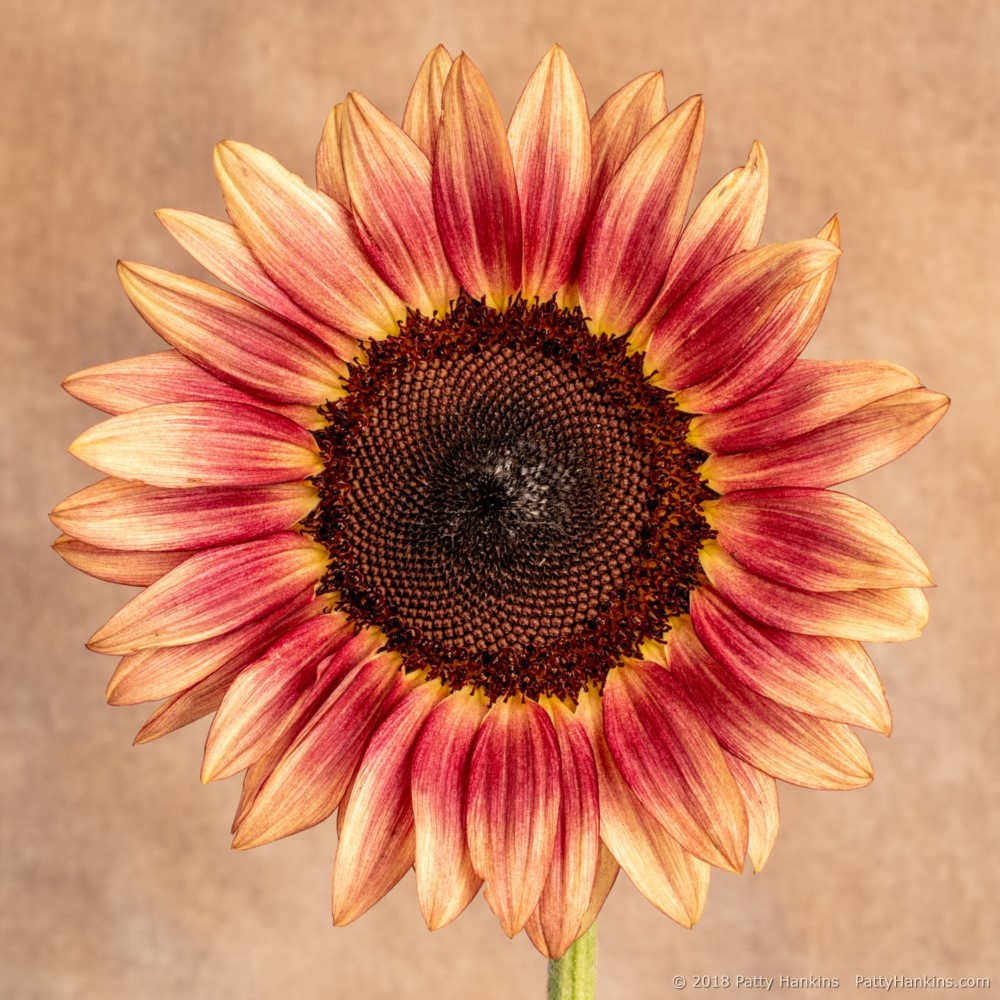
Once I had my mask created, I could make my adjustments to the background. I took the shadows to -100 and blacks to -15. Here’s the image looked like after the changes to the background.
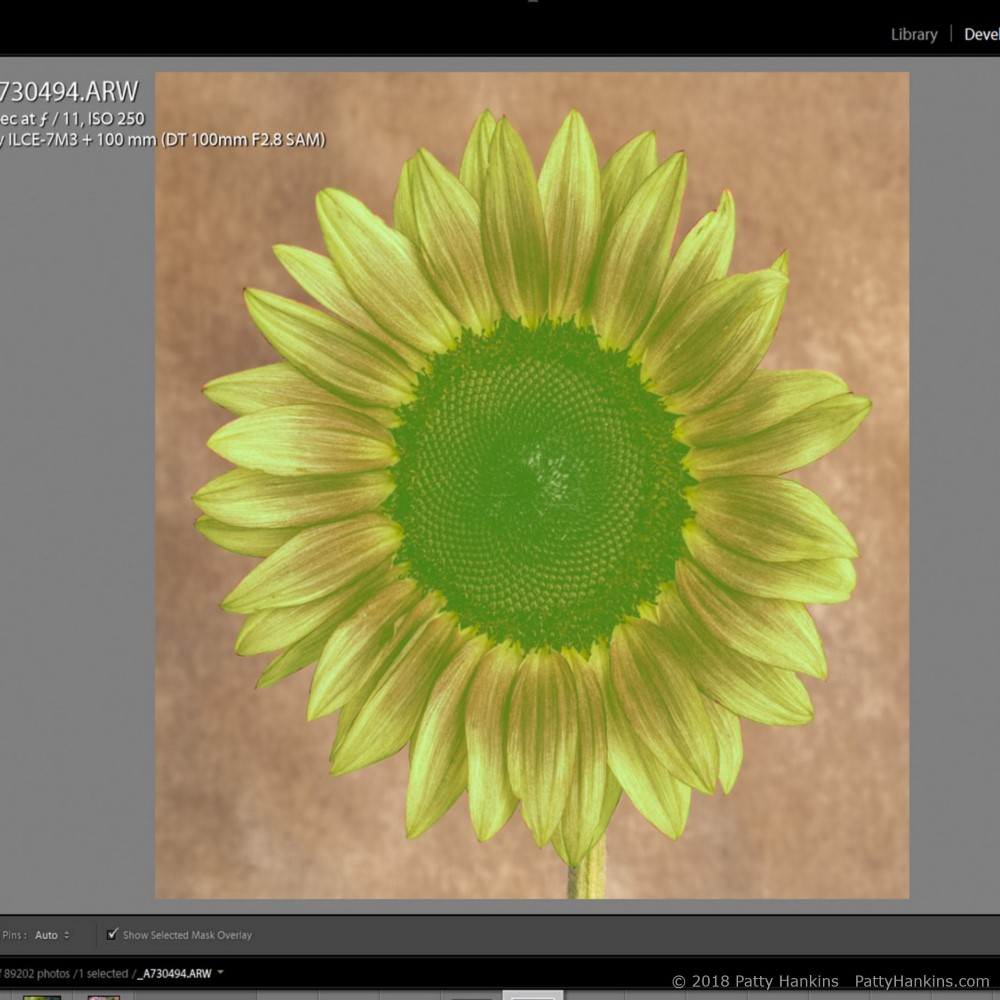
Now that I had the background where I wanted it, I started working on brightening and warming up the flower. I used the adjustment brush to create a mask Here’s what my mask for the sunflower looked like.
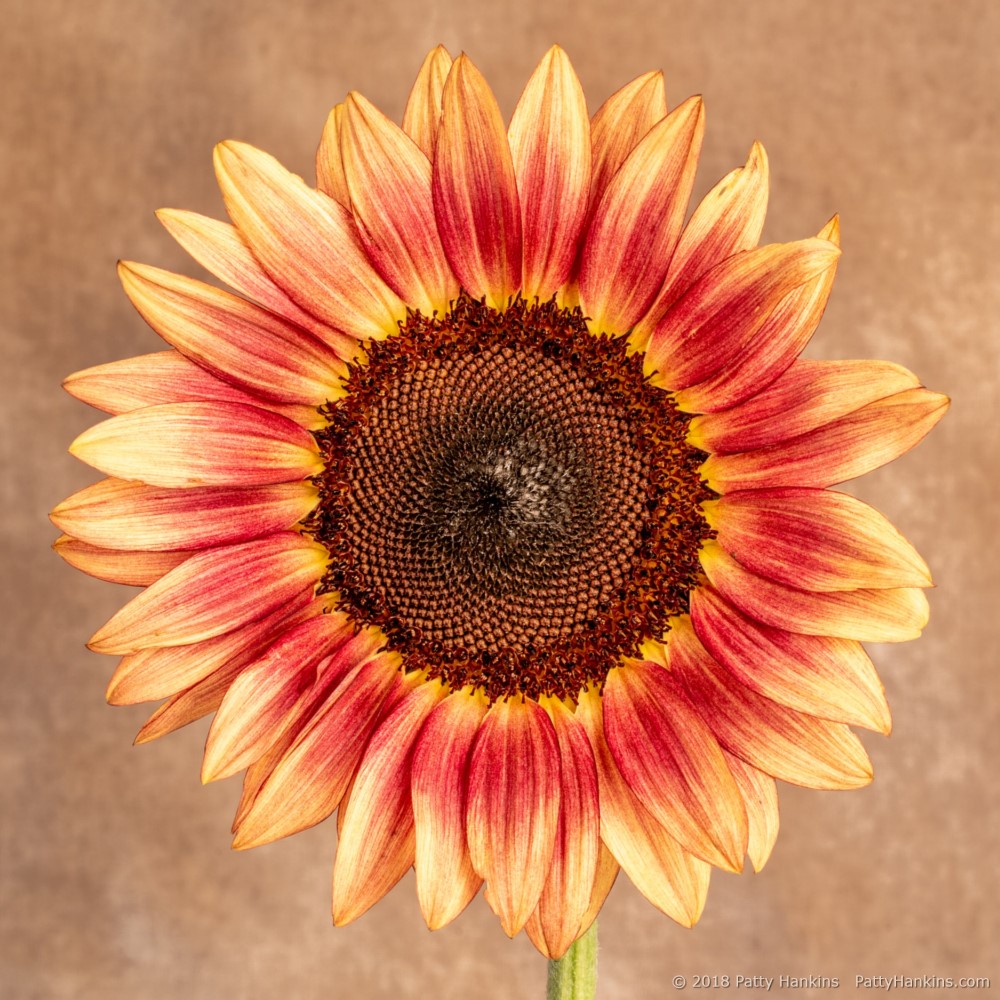
Once I had this second mask created, I could make my adjustments to the flower. I increased the temperature by 13, increased the highlights by 28 and the shadows by 26. Here’s what the image looked like after I made the changes to the sunflower.
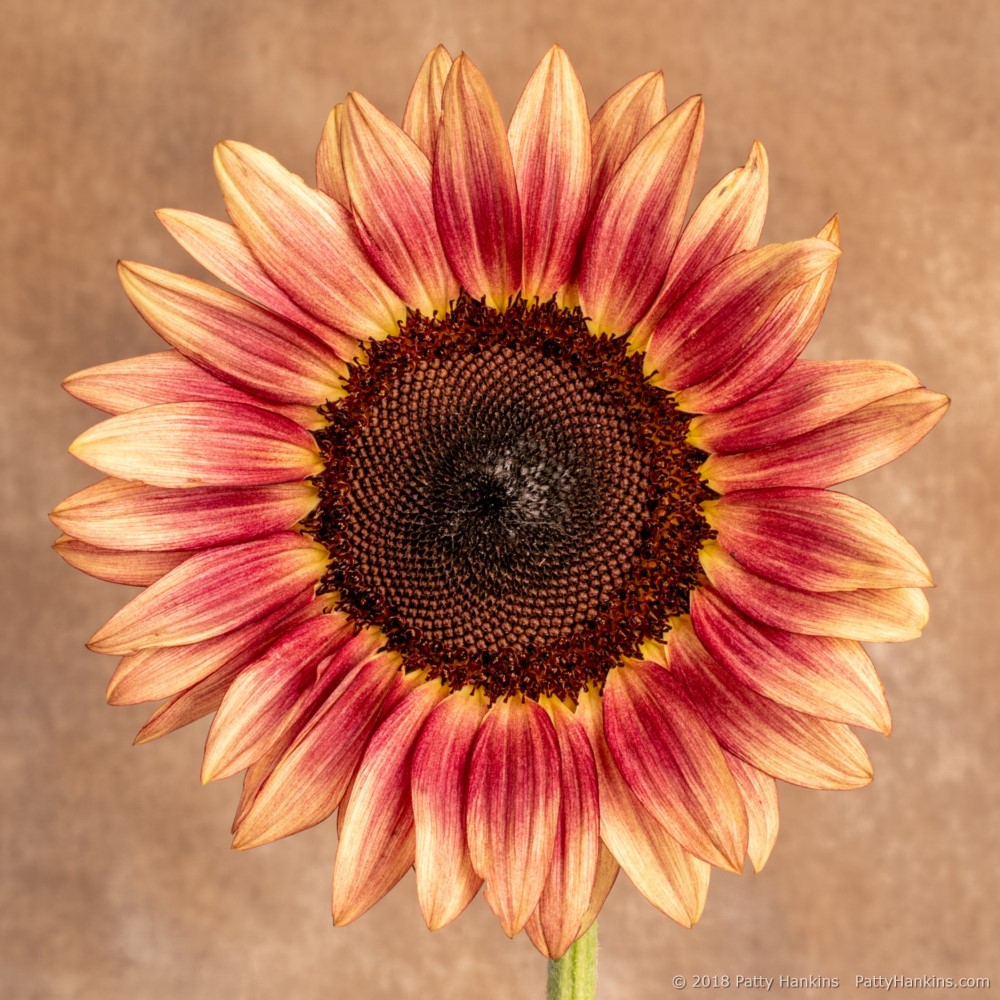
And then I made my final changes of sharpening the photo a bit and adding a vignette. Here’s the final image
If I had been using both Photoshop and Lightroom to edit the photo, I would have switched over to Photoshop after making my changes in the Basic Panel. Adobe has improved the functionality of the local adjustment tools in Lightroom with the addition of range masks and the brush tool for the graduated and radial filters. While they still aren’t as powerful the layers and masking tools in Photoshop, you can make many types of local adjustments to your photos with them.
If you’d like to learn more about Lightroom and how I use it, I will be teaching my Introduction to Lightroom Workshop on September 29-30. We’ll be working with Lightroom’s Library and Develop Modules. By the end of the weekend you’ll know how to import, organize, and edit your photos, as well as export them for use on the web or in print, even if you’ve never used Lightroom before. The workshop is limited to 4 students, so I can make sure you get the individualized help you need. You can learn more about the workshop at https://beautifulflowerpictures.com/introduction-to-lightroom-2/
If you have any questions about how I edited my plum sunflower photo, drop me a note and I’ll try to answer them in a future Post.
Excellent tutorial: clear, concise, informative.
Thanks Ina. Hope it was helpful 🙂