I often get asked how much and what do I do when I edit my photos. My answer is always – I do what I need to in Lightroom and Photoshop to show you in my final photo what I saw and felt.
Today, I thought I’d take you through my editing process and show you how I’ve edited one of my fall color photos from last fall’s trip to the Smokies from start to finish.
I was photographing fall color along River Road in the Great Smoky Mountains National Park. All week, the lighting conditions had been a little challenging – clouds, then bright sun, then lots of contrast, then less contrast – so I just set my camera on auto bracket to capture three exposures of each image in case I needed to merge multiple images to properly capture the scene.
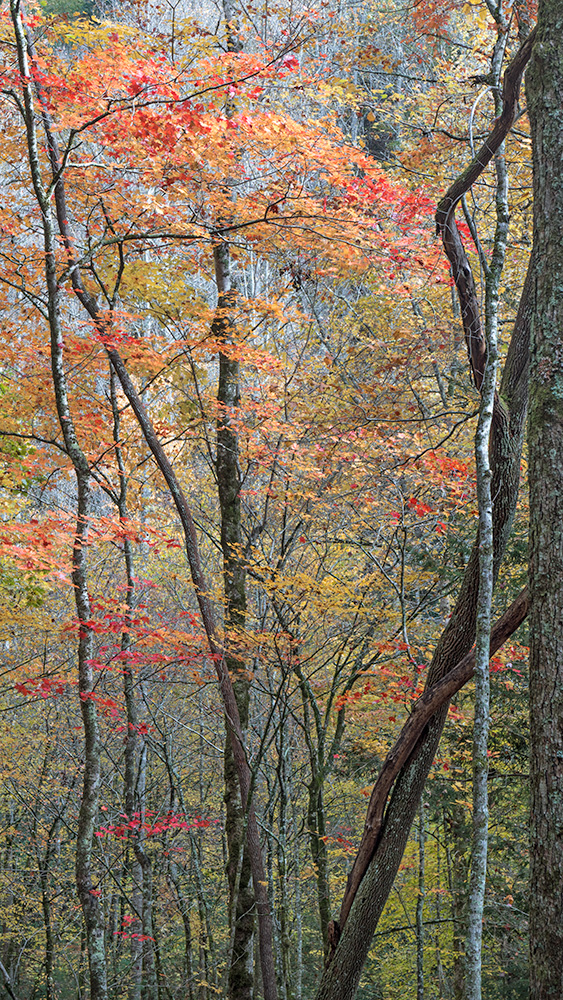
What caught my eye in this scene was the light coming down through the leaves highlighting the beautiful reds, oranges and yellows.
So I took my camera out of my backpack and set up my tripod. I captured three images – at ISO 100, f 11 – one photo at the normal exposure, one photo a full stop down and one photo a full stop up.
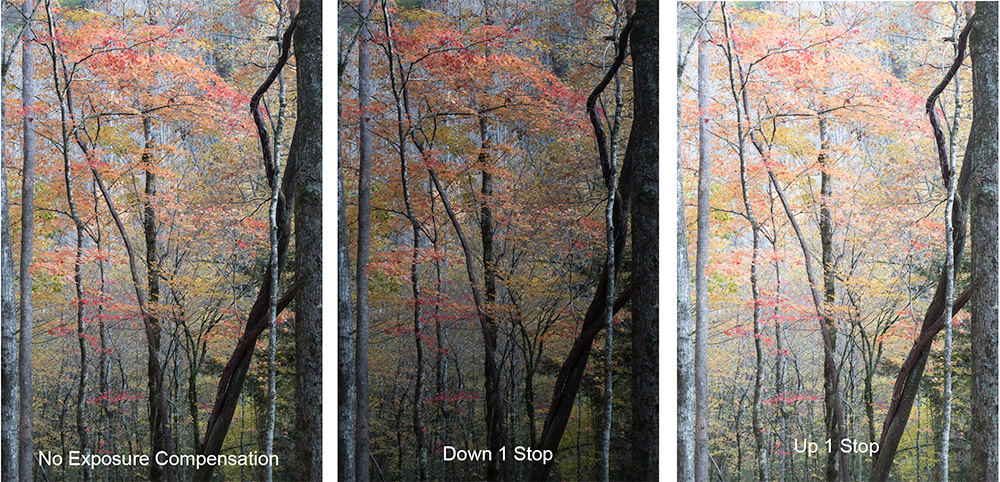
Looking at the three images, I decided to merge them using Lightroom’s HDR merge function to give me one image with a greater dynamic range than any of the three individual photos.
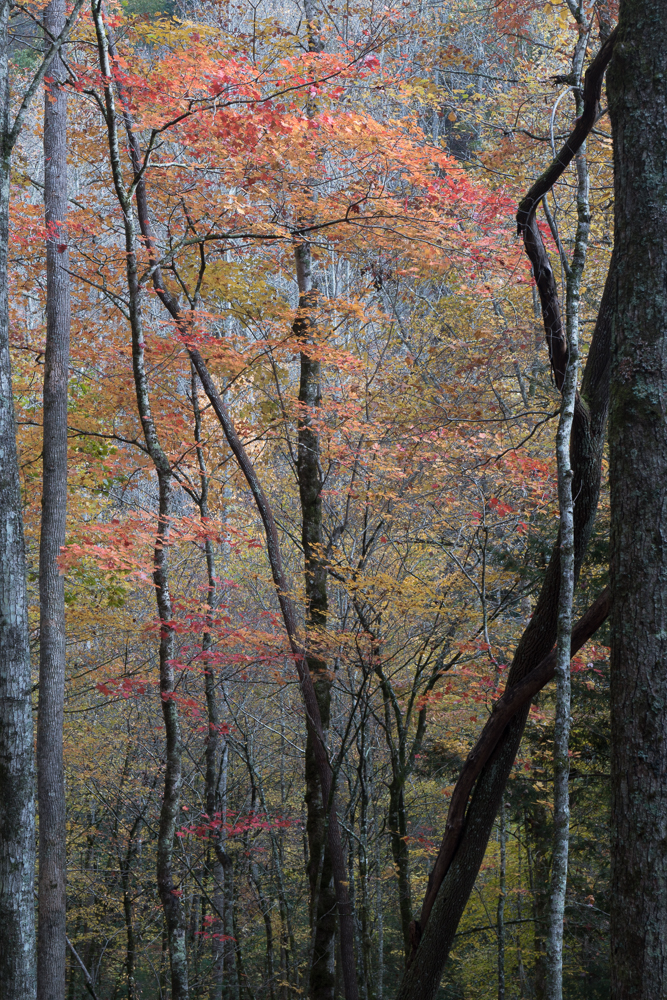
Then in Lightroom I did some initial edits – cropped the photo to a 16X9 aspect ratio and made some changes in the Basic Panel of the Develop module adjusting Highlights, Shadows, Blacks, Whites and Clarity (mid-tone contrast). My goal was to have a well-exposed file to take into Photoshop.
Once in Photoshop, I made my next set up of edits. I opened up the shadows on the lower third and right hand side of the photo to lighten the trees and woods in the foreground. I then took some blues out of the entire photo to warm it up – photo felt cool to me and I wanted to share the warm colors I saw in the woods. And then finally I added a little bit of saturation to the red and yellows leaves to make them stand out a bit more.
Now that I’d completed my first set of edits, I printed a copy and Bill and I took a look at it. I’ve found it really helps to have someone else review my prints as I’m working on a photo. Bill often sees things that I don’t see – since I took the photo and know what I want it to look like – whereas he is looking at it with fresh eyes.
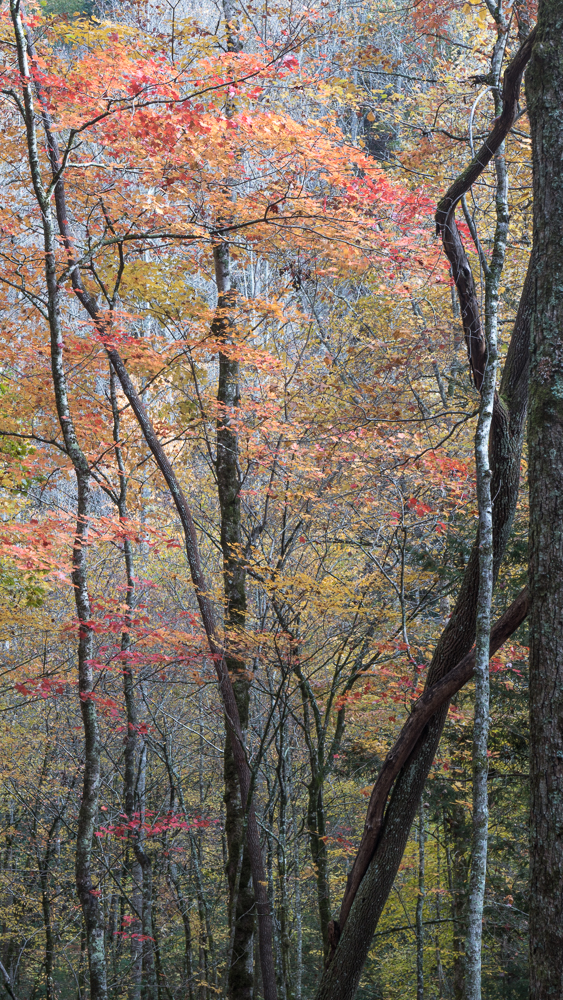
As Bill and I looked at the photo, we realized that it looked flat and didn’t reflect the light coming through the trees that had caught my eye in the woods. So I brightened the leaves and woods from the upper left corner of the photo down towards the lower right corner to draw your eye into the photo and into the woods. I also brightened up the white and gray bark on the narrow tree along the left side of the photo to bring your eye that direction. Finally, I added a vignette to the photo to draw your eyes away from the edges and towards the center of the image.
So I ran another print and thought the photo looked really good. And then I left it sitting on the printer for a few days, knowing that sometimes we’ll see something else that needs done once we’ve walked away from the photo and then come back for another look.
When Bill and I went back and took another look – we realized that the lighter greens in the lower right corner of the photo were still a little flat. So I brightened up those yellows and greens just a bit with a curves layer. And ran another print.
And this time, we decided the photo was done . . . unless I decide to make some more edits at a later date.
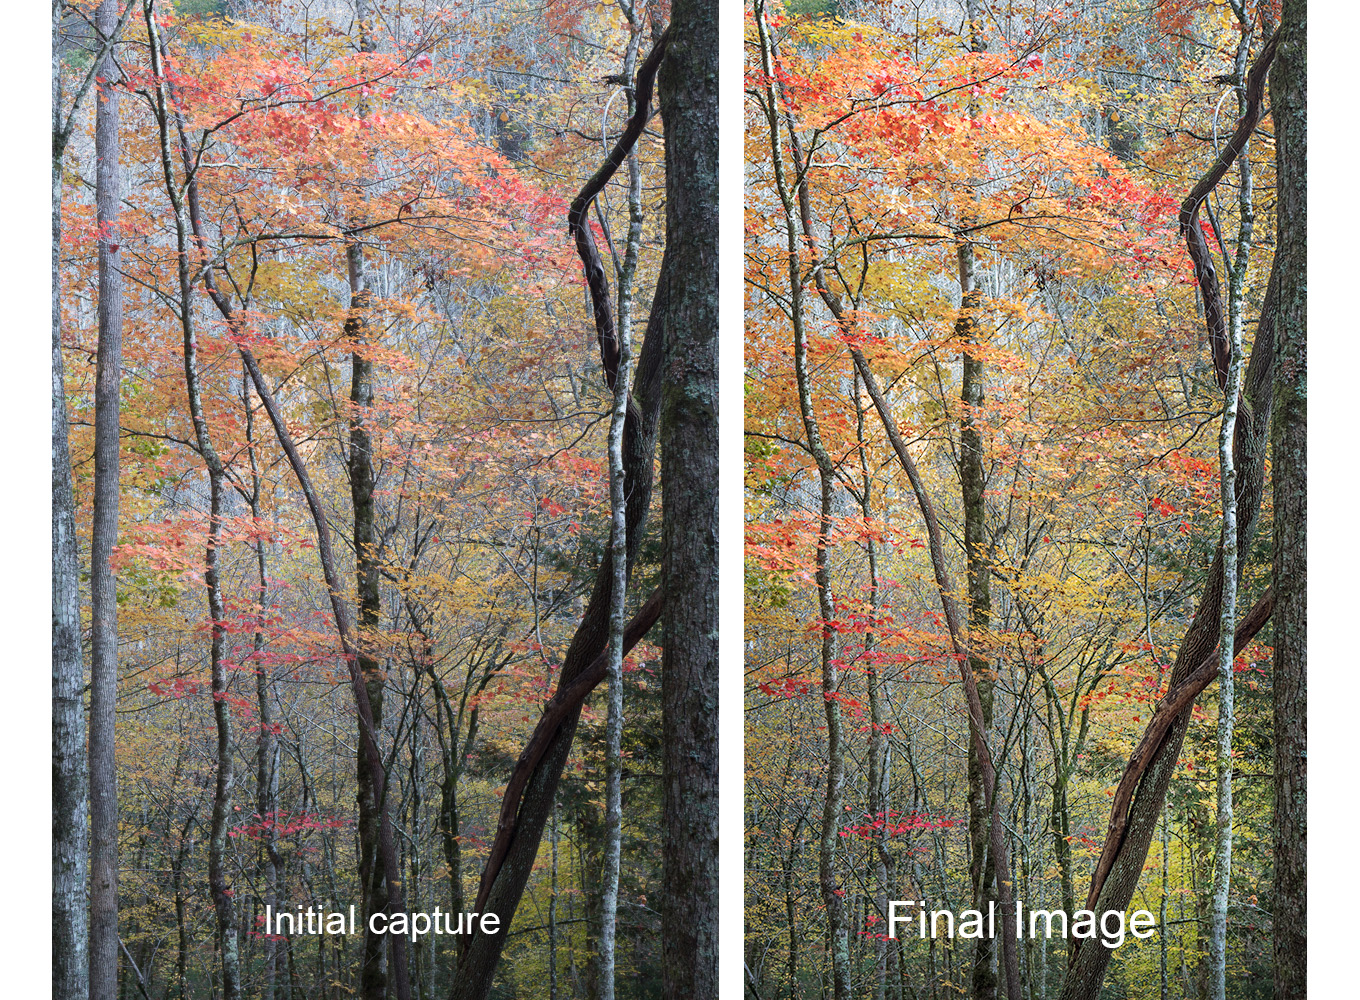
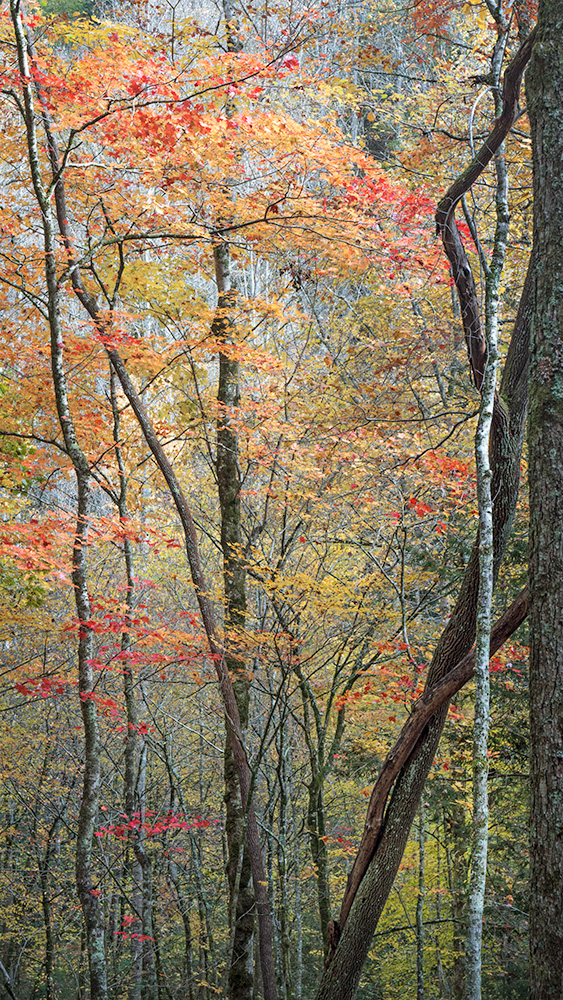
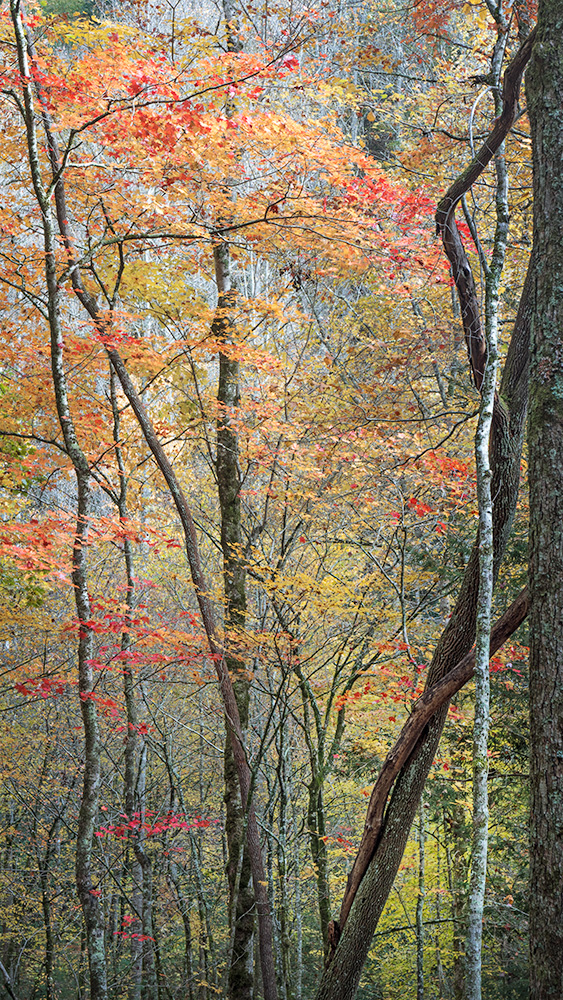
Here are the initial capture and final image side by side.

My hope is that the final image shares the beauty I saw in the woods last fall with you.
If you’d to learn more about how Bill and I approach editing our photos, join us for our Making Your Photos Look The Way You Want Them To Look Workshop on April 14. We’ll share more details about our editing workflow and help you develop an approach to editing your photos that works for you. You can read more about the workshop at https://beautifulflowerpictures.com/making-photos-look-way-want-look/
And if you have any questions about my approach to editing,leave a note in the comments below and I’ll try to answer them in a future newsletter.