One of the questions I get asked on a pretty regular basis is how do I edit my photos? And usually the person asking wants to know in what order do I do things – so I thought I’d share some info about how I approach editing a photo with you today.
The first thing I do is decide which photo I want to edit. On a day I head to a garden to photograph, it’s not unusual for me to take a few hundred (if not several hundred) photographs. I’ll do a quick sort and delete out all the photos I know I’ll never edit – the composition isn’t right, the exposure isn’t right, etc. Then I’ll go through and select from the rest which I want to edit. And then choose one to be the first to edit.
Once I’ve decided which photo to edit, I take a moment and think about what I’d like my final image to look like. This helps me make the first decision – how am I going to crop the photo. I tend to crop to one of several aspect ratios – rectangular (2X3 or 4X5), square (1X1) or panoramic (7X16 or 9X16). When I crop my photos, I always do it non-destructively in Lightroom or Photoshop so I can always go back and try another crop if I decide later I didn’t choose correctly the first time.

Next step is to clean up the cropped image. This involves things like removing spots from sensor dust, removing telephone wires, etc. I do minor cleanups in Lightroom using the Spot Removal tool. For more extensive cleanups, I head into Photoshop and use the patch, heal, clone or content-aware fill tools.
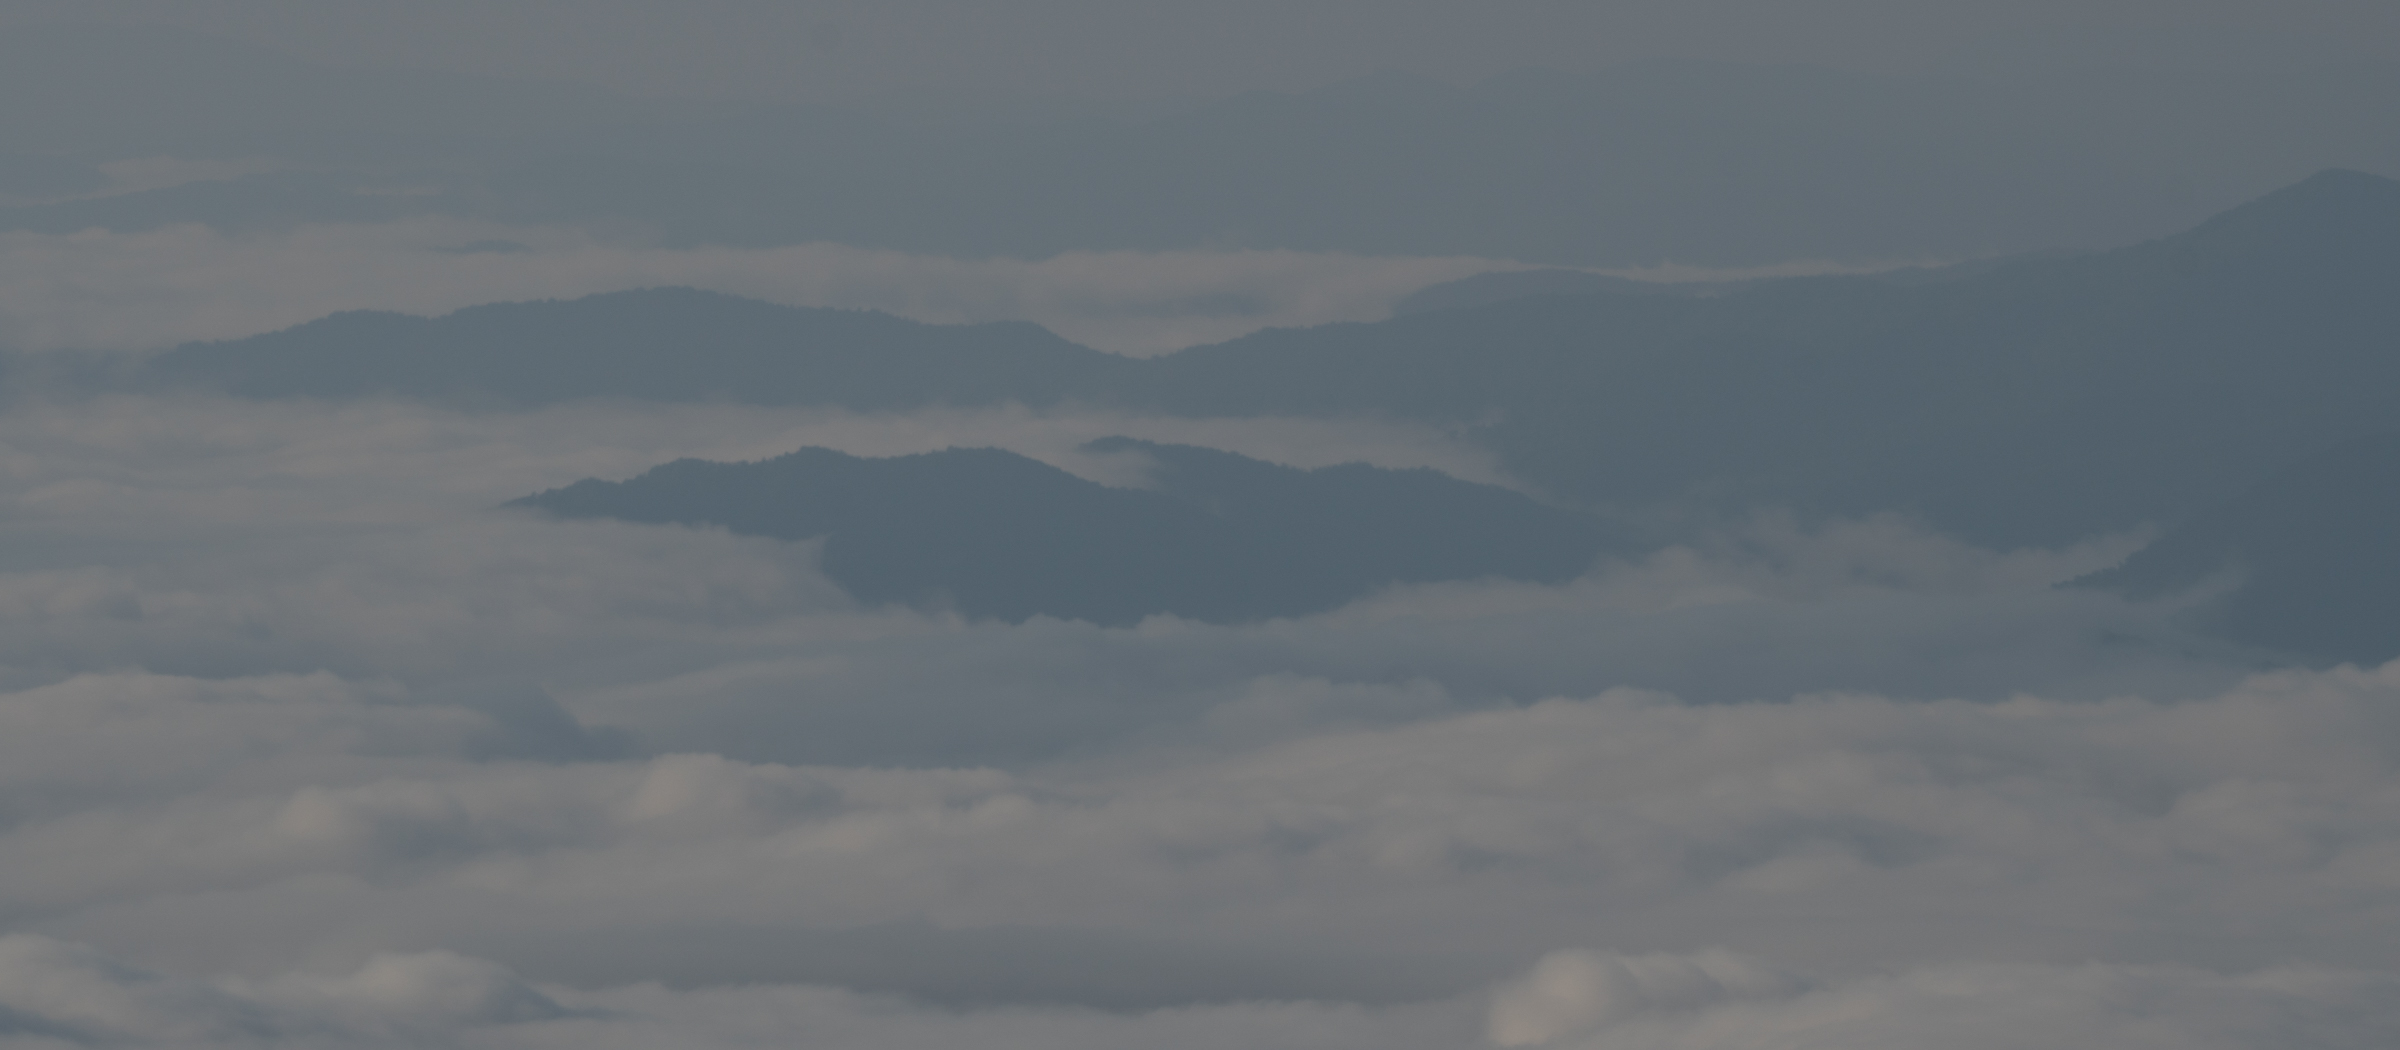
Before Contrast Adjustments
Next step is to work on contrast throughout the image. This is when I make global adjustments to the light, dark and midtones in the photo. Most of the time I do this in Lightroom using the sliders in the Basic Panel. Usually with a few adjustments to the Contrast, Highlights, Shadows, Blacks and Clarity sliders, I’ve got my photo closer to looking the way I want it to.
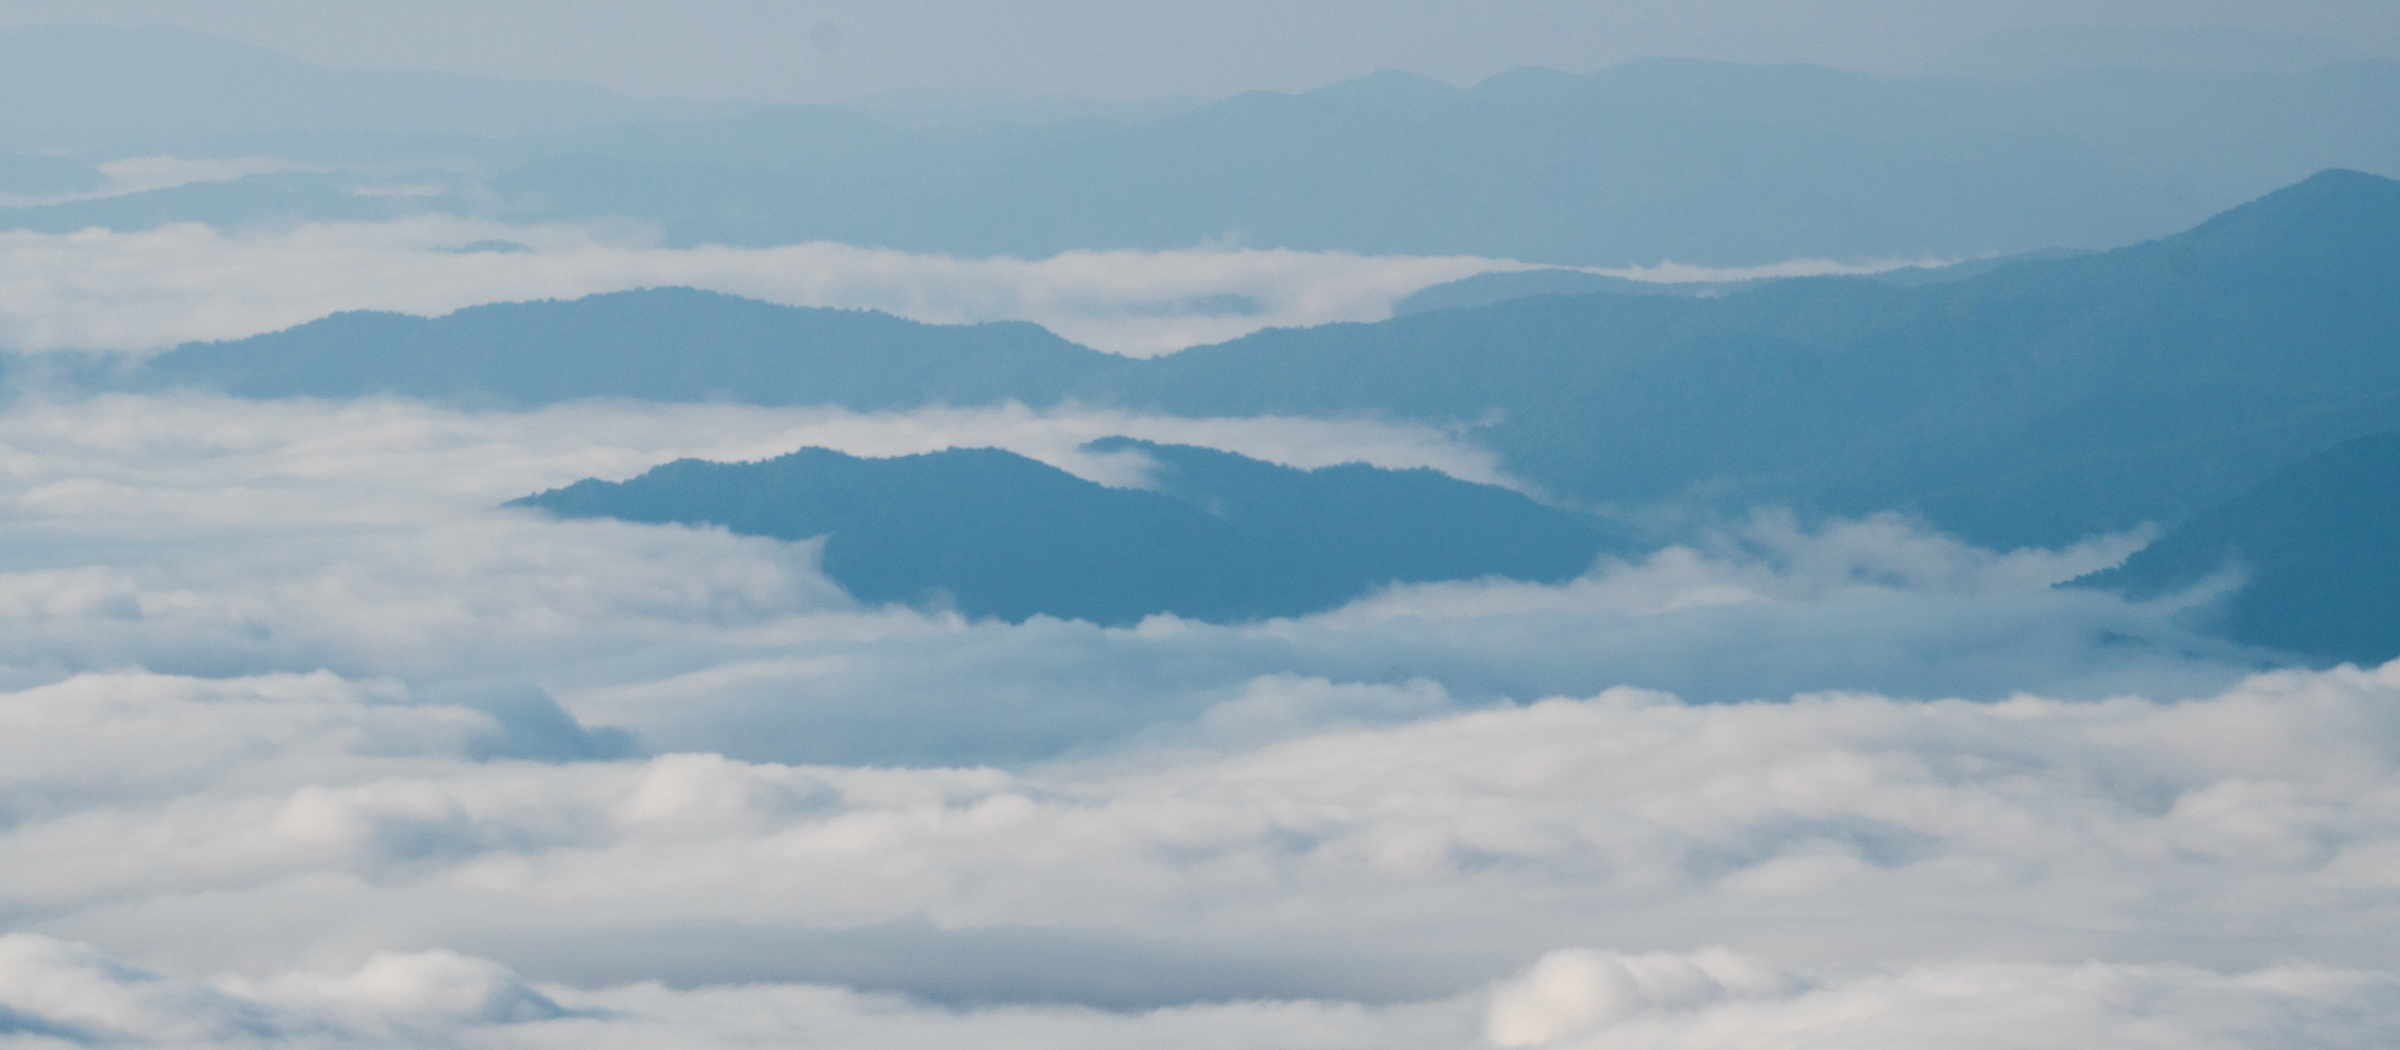
After Global Contrast Adjustments
Once I’ve done my global contrast adjustments, I’ll look at the overall colors issues in the photo. Again, I tend to use Lightroom for the global color adjustments. I’ll use the temperature and tint sliders to adjust the white balance, and that’s usually all I do. I’ll sometimes use the Hue/Saturation/Luminance sliders to adjust specific sets of colors. I tend to adjust the greens and the yellows in my flower photos – usually darkening them down a bit so that the colors in the flowers pop a little more.
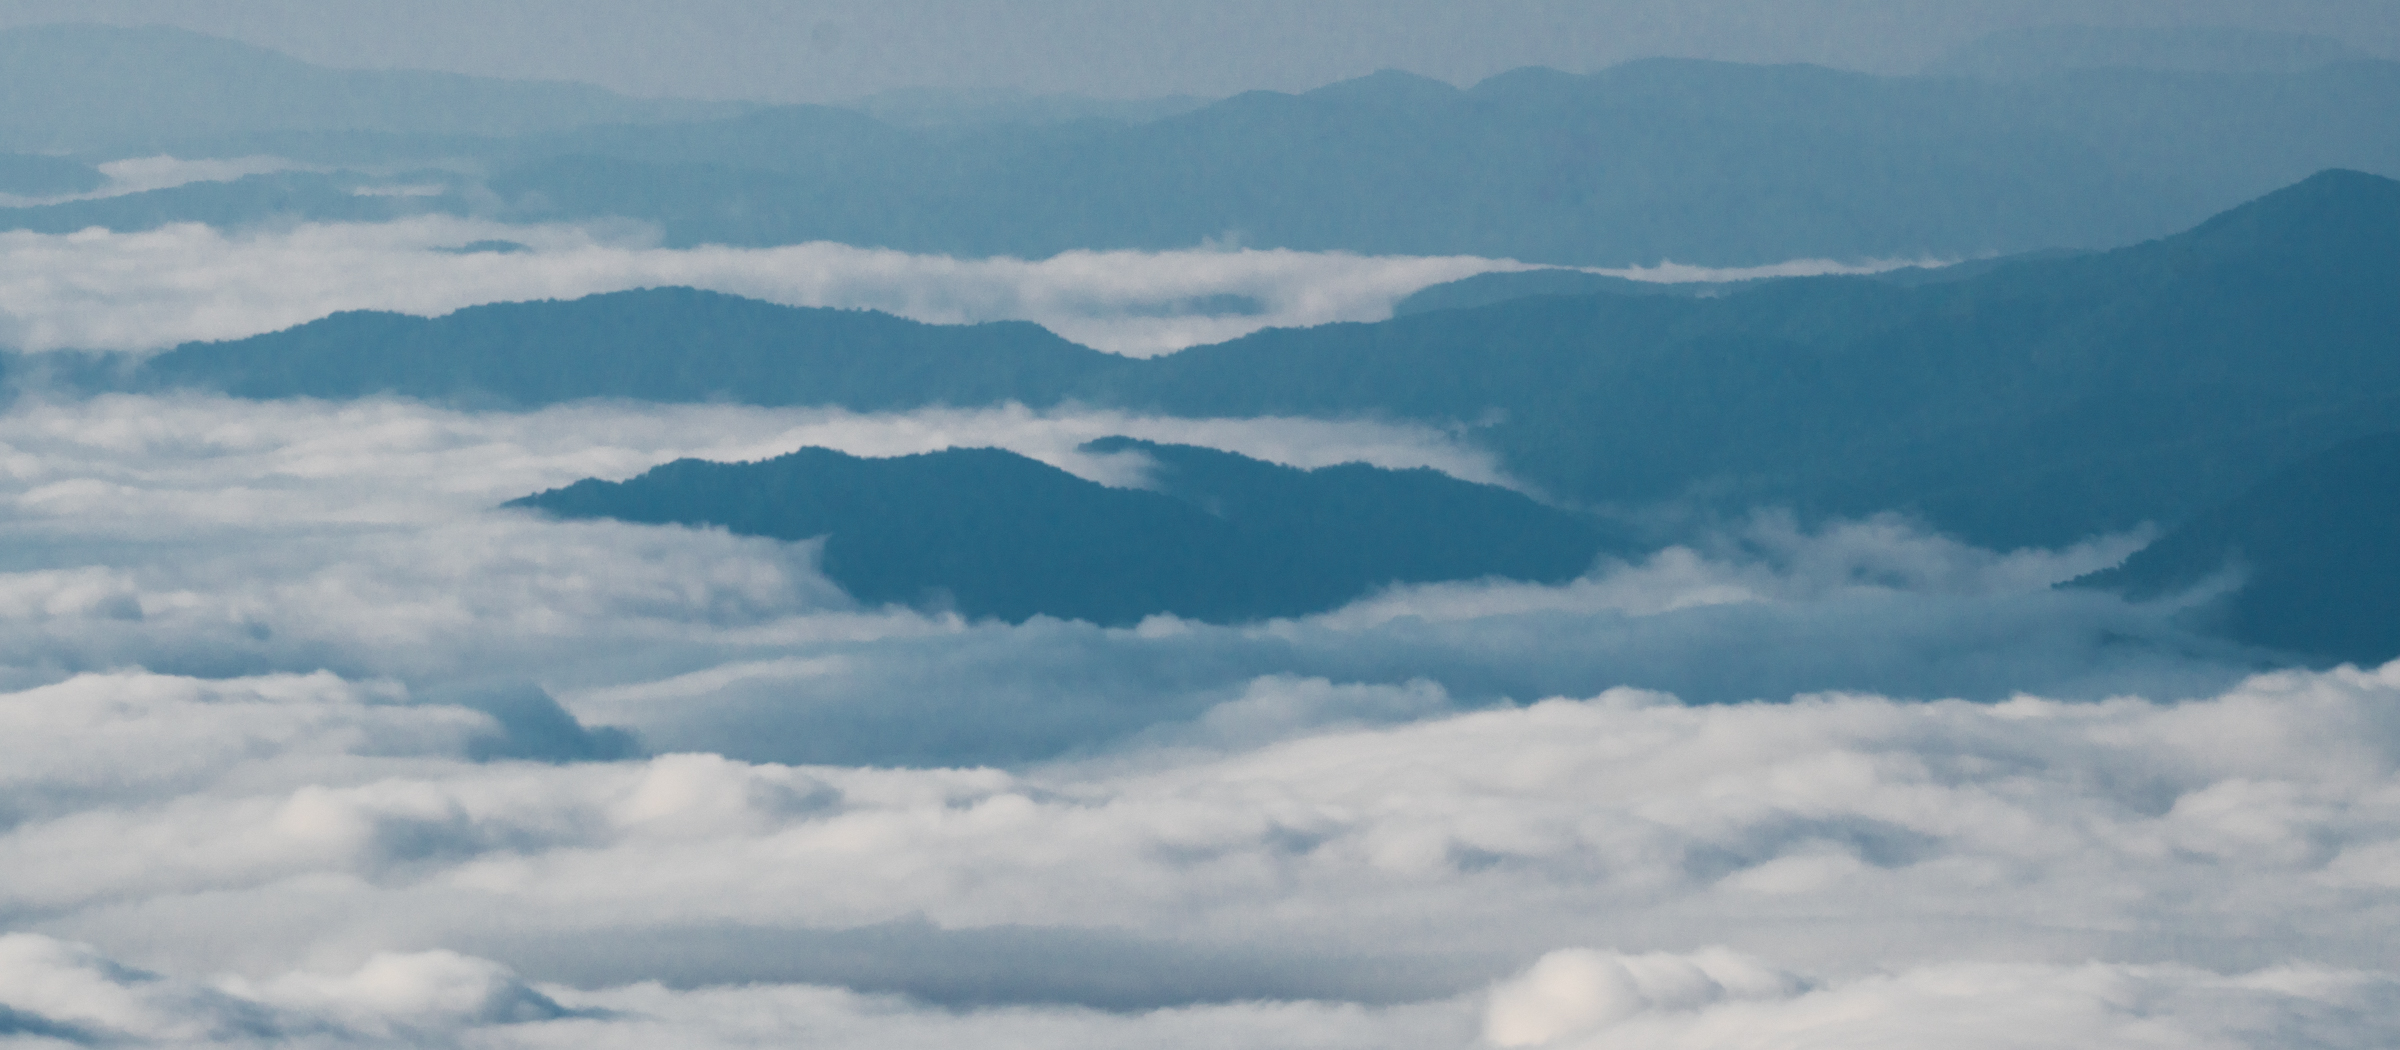
After Global Color Adjustments
Oftentimes the global edits are all I need to do if I’m just planning on sharing an image on the web. If I’m going to print an image, I’ll switch over to Photoshop and make color and contrast adjustments that affect part of the image. I find it easier to make local adjustments using Photoshops Layers and Masks than to do them using Lightroom’s Adjustment brush.
My last steps are to sharpen the photo and export it for the web or for print.
I’ll be teaching more about how I do quick edits in Lightroom during my Gardens of Philadelphia workshop from May 5 – 11, 2019. I’d love to have you join me for a week of photographing flowers and improving your photographic and editing skills. All the information about the workshop is at https://beautifulflowerpictures.com/store/photographing-the-gardens-of-philadelphia-may-2019/
Thanks! This is a great, short overview of editing. Thanks very much for sharing.
I’m in the photography judging program with Garden Club of America and found you when Dana Parker hoped to have you do a workshop near Va Beach last fall. The timing wasn’t right, but I’m hoping I can join you for a workshop sometime this year. I greatly enjoy your blog – flowers and the beach are my favorite things to shoot, too.
Thanks Susan. Glad you found it helpful. Hope we’re able to connect in person sometime soon. Dana and I are talking about rescheduling the workshop from last fall. We ended up cancelling due to Hurricane Florence